
Hola Chicka Don't you love the tag hanging between his eyes
 Don't you love the tag hanging between his eyes
Some Of Life's Sweetest Moments
Don't you love the tag hanging between his eyes I sill love him more everyday!
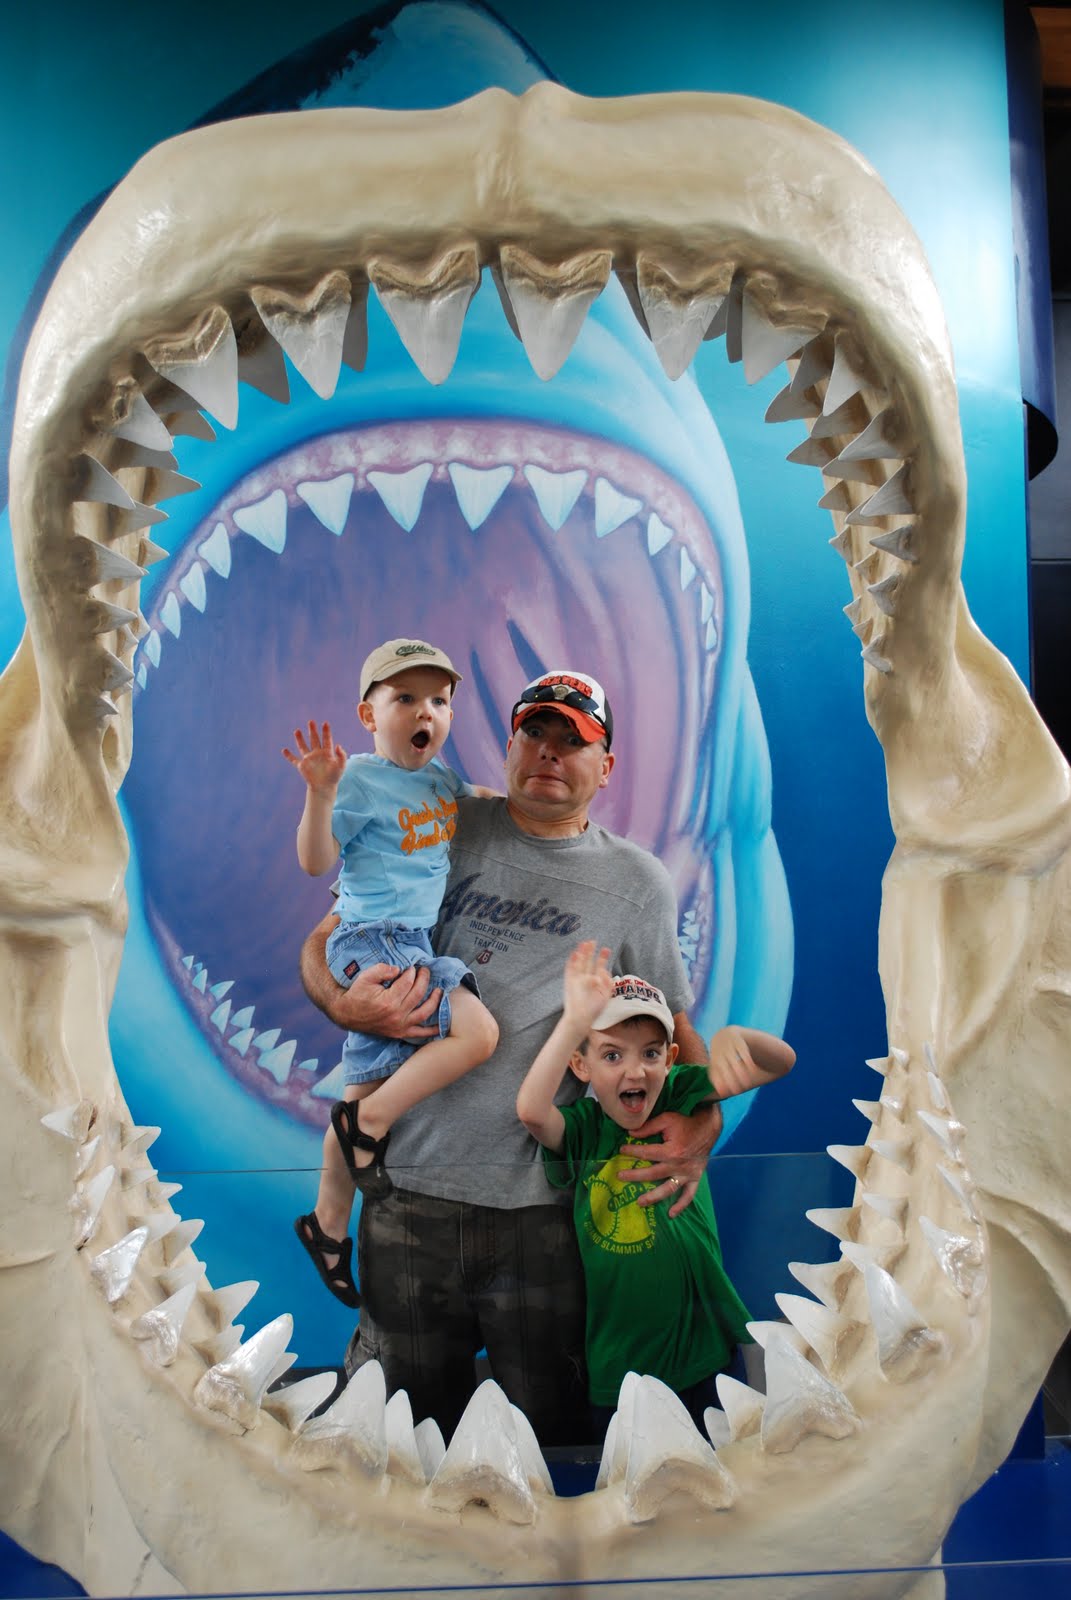 He's not afraid to act silly
 He's a good digger
 A good story teller
 A WONDERFUL father
 This is the wooden frame my hubby built. He built two frames and then stapled the wire between them. We built the two frames so it would keep the wire from rubbing against the wall and it made it easier to remove the bows.
 I tapped off the wire and applied 3 coats of white paint. The back isn't painted except for the trim against the wire.
  I love how the white looks against her purple stripes!
 We added these porcelain knobs that I had off a old desk. They are perfect for hanging her headbands on them.
 It turned out so cute! We now have a nice place to find what we are looking for!


 "
"


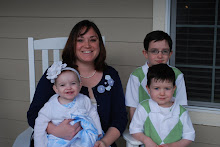
 She was checking out her brothers. Aubrey always waves and says, "Hi" to Lukas and "Hi Jaren" to her older brother. It just melts our hearts.
 Our new skateboards
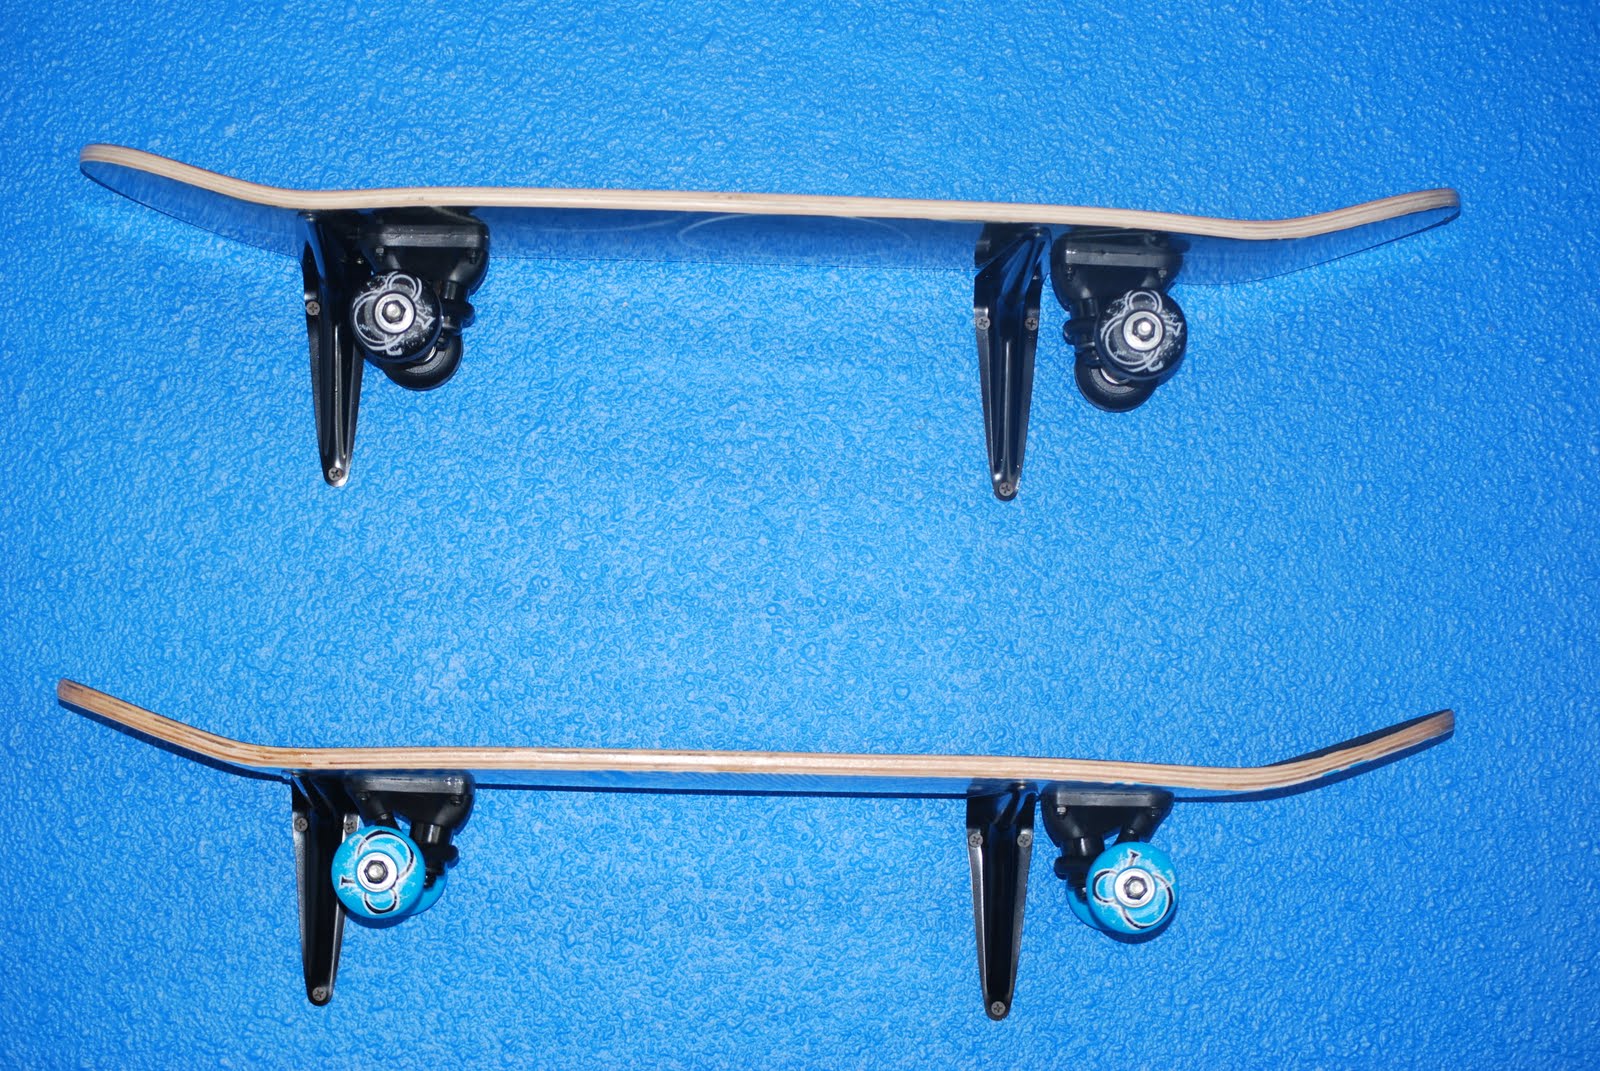 I
I
 I'm sure they will put up their own treasures soon!


 Isn't this great?
 Burlap, floral wreath and glue gun. I cut some strips of Burlap and started to wrap them around the wreath and hot gluing as I went. I love how Burlap unravels so you get all the strings that hang off. It just adds to the charm.
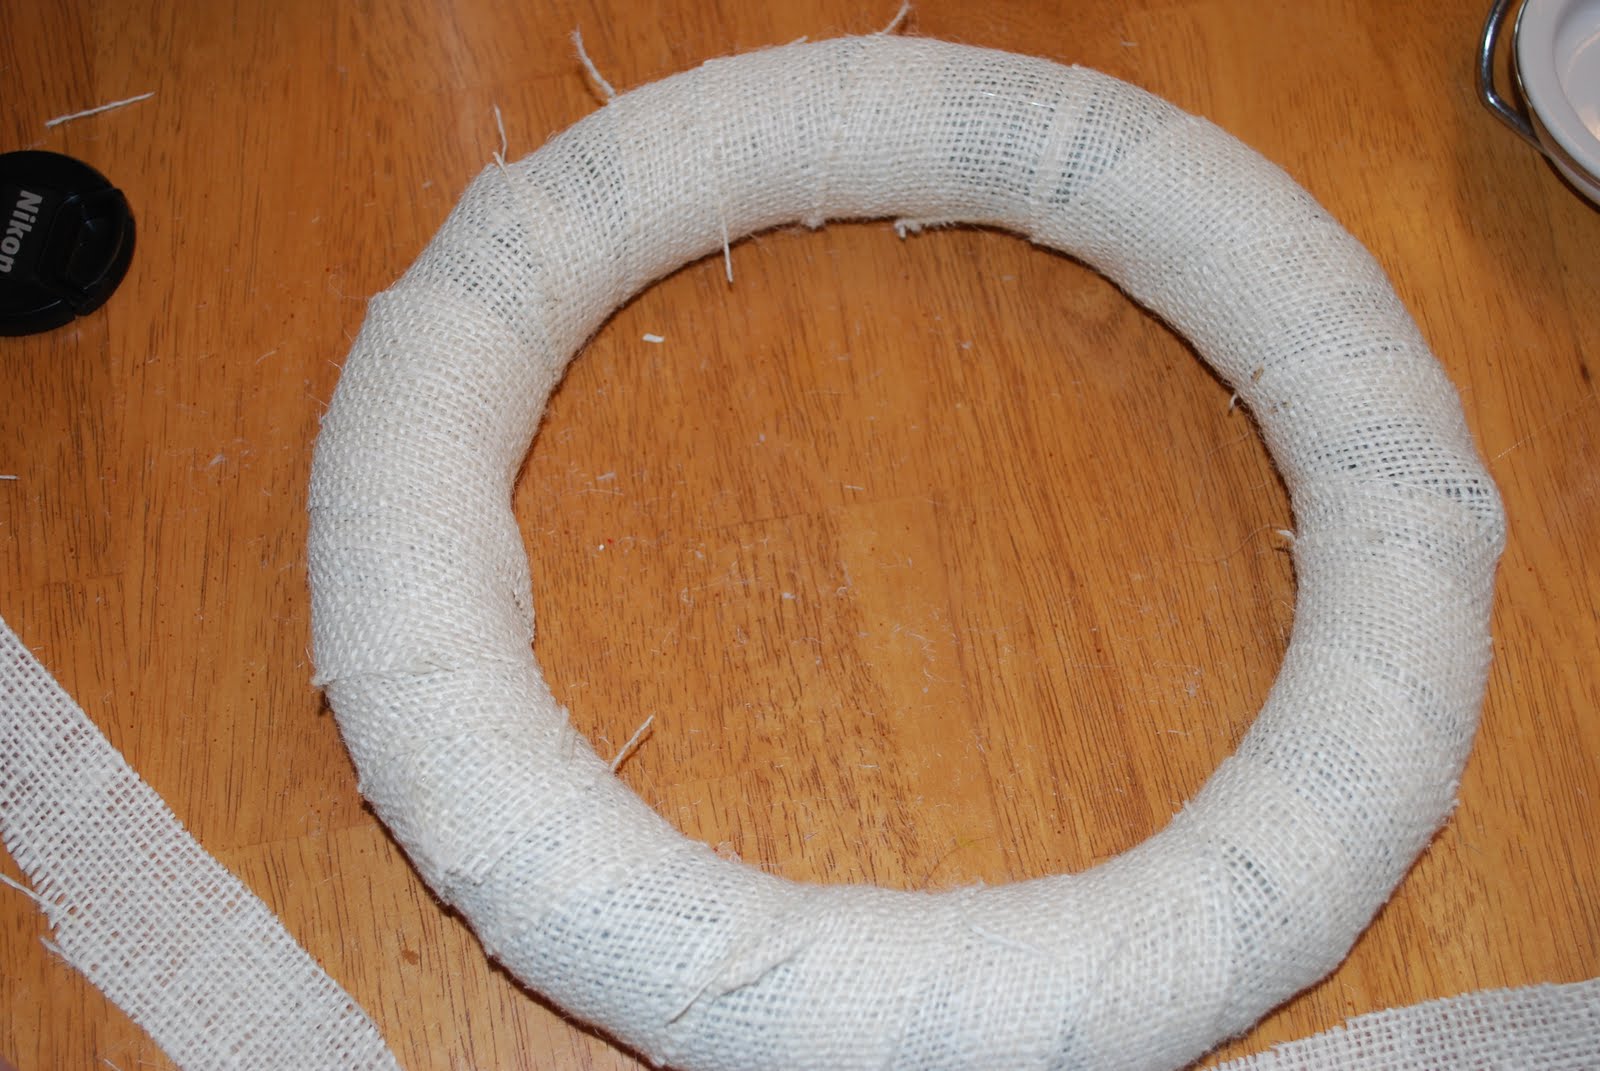 This is what it looks like when you are done wrapping
 Next I cut some long strips so I could start making my flowers
 Start by tying a not at one end. This will be the center of your flower.
 Next you want to star twisting the fabric or burlap and then start slowly wrapping it around your knot.
 Put small dots of hot glue as your are twisting.
 Keep twisting around the knot forming a rose or flower shape
 You can make it as small or as large as you want. When you are done with one color you can twist the fabric to the back of the flower and hot glue it to the back.
 Next you can use any type of fabric you have. Start by cutting a small cut at the top of the fabric and tear off a long strip.
 Start by gluing it on the back of your flower and begin twisting it around the outside of your center.
 You can repeat this process as many times as you want or just do one color. It's up to you!
 Next I just started gluing the flowers on my wreath.
 Here it is


